How to Get the Shot: Golden Gate Bridge Between Two Trees
Articles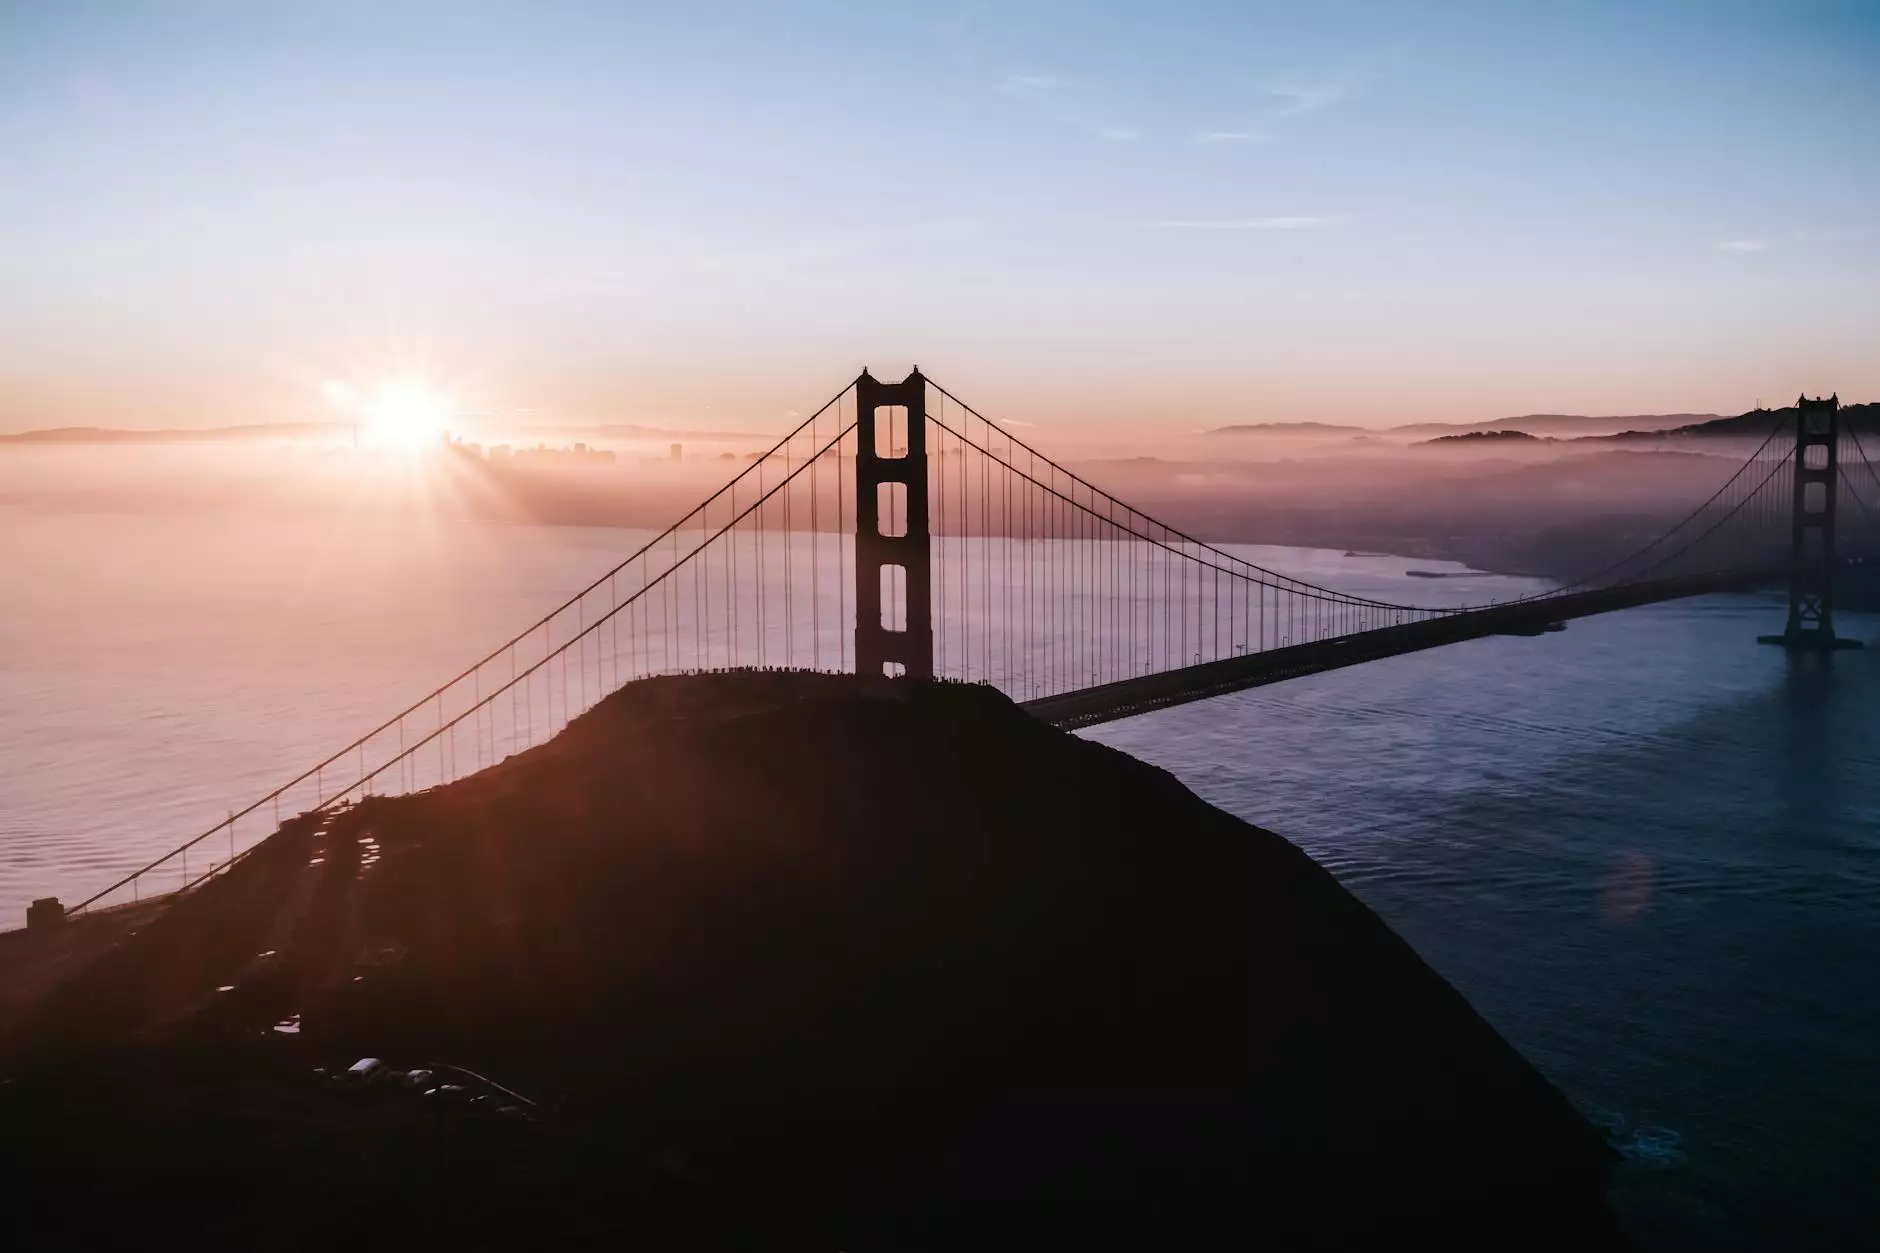
Introduction
Welcome to Marjorie Cowley's guide on capturing the awe-inspiring Golden Gate Bridge between two majestic trees. If you're passionate about photography and eager to learn how to capture unique shots in stunning locations, you've come to the right place. In this comprehensive guide, we'll provide you with expert tips, techniques, and gear recommendations to help you achieve the perfect shot.
The Golden Gate Bridge
Standing tall and proud, the Golden Gate Bridge is an iconic symbol of San Francisco and an architectural marvel. Spanning the Golden Gate Strait, this suspension bridge offers photographers countless opportunities for breathtaking shots. However, capturing the bridge between two carefully positioned trees can provide a unique and eye-catching composition.
Scouting the Location
Before venturing out to capture the shot, it's crucial to scout the perfect location. Look for spots that offer unobstructed views of the bridge and have two trees that can neatly frame the masterpiece. Visit different vantage points, take test shots, and determine the best time of day for optimal lighting conditions. A photography scouting checklist can be handy to ensure you cover all the essential aspects.
Choosing the Right Gear
Having the right gear is essential for capturing a shot like the Golden Gate Bridge between two trees. Consider using a DSLR or mirrorless camera with a wide-angle lens to capture the entirety of the bridge and the surrounding scenery. A sturdy tripod will help stabilize your camera and ensure sharp images. Don't forget to bring extra batteries, memory cards, and lens filters to enhance your shots.
Composition and Framing
When it comes to composition, framing the Golden Gate Bridge between two trees requires careful attention to detail. Position yourself so the trees frame the bridge perfectly, creating a captivating visual effect. Experiment with different angles and perspectives to find the most intriguing composition. Remember to use the rule of thirds to balance your elements within the frame and create a well-balanced shot.
Timing and Lighting
The Golden Gate Bridge looks stunning throughout the day, but capturing it during sunrise or sunset can add a magical touch to your photograph. The soft, warm light during these golden hours will cast a beautiful glow on the bridge, enhancing its colors and adding depth to your image. Keep an eye on weather conditions and cloud formations, as they can drastically affect the overall mood and atmosphere of your shot.
Using Filters and Accessories
To take your shots to the next level, consider using filters and other accessories. A neutral density (ND) filter can help you control the intensity of light, especially during bright conditions. Graduated neutral density (GND) filters come in handy when balancing the exposure of the bridge and the sky. Experiment with polarizing filters to reduce glare, increase color saturation, and enhance the details of the bridge structure.
Post-Processing and Editing
Once you've captured the perfect shot of the Golden Gate Bridge between two trees, it's time to bring out the best in your image through post-processing and editing. Use professional software like Adobe Lightroom or Capture One to fine-tune your composition, adjust exposure, enhance colors, and bring out hidden details. Remember, post-processing should enhance your photo while still maintaining a natural and realistic look.
Sharing Your Masterpiece
After all the hard work and dedication you put into capturing the Golden Gate Bridge between two trees, it's time to share your masterpiece with the world. Consider creating an online portfolio or sharing your photograph on social media platforms like Instagram or Flickr. Engage with other photographers and photography enthusiasts to receive valuable feedback and further enhance your skills.
Conclusion
Capturing the Golden Gate Bridge between two trees is no easy task, but with the right techniques and guidance, you can create a truly remarkable photograph. We hope this guide by Marjorie Cowley has provided you with the inspiration and knowledge needed to get out there and experiment with your photography skills. Remember, practice makes perfect, so keep exploring new locations and pushing the boundaries of your creative vision. Happy shooting!


