Unlock the Potential of Vacuum Bag Wood in Your Woodworking Projects
Vacuum bag wood is a revolutionary technique in the woodworking industry that has changed the way both professionals and hobbyists approach their projects. By utilizing the power of vacuum technology, woodworkers can achieve superior results in lamination, veneering, and shaping wood. This method not only enhances the strength and aesthetic appeal of wood products but also increases efficiency and reduces waste. In this comprehensive guide, we will explore everything you need to know about vacuum bag wood, from the basic principles to advanced techniques.
What is Vacuum Bagging?
Vacuum bagging is a method used in various industries, including woodworking, to apply consistent pressure across a surface. This is accomplished by placing materials in a sealed bag and removing the air, creating a vacuum. In woodworking, vacuum bagging is primarily utilized for:
- Lamination: Bonding multiple layers of wood together.
- Veneering: Applying a thin layer of premium wood to a less expensive core.
- Shaping: Forming wood into specific shapes and curves under pressure.
Benefits of Using Vacuum Bag Wood Techniques
The advantages of incorporating vacuum bagging into your woodworking repertoire are significant. Here are some of the key benefits:
- Enhanced Bonding: The vacuum creates even pressure across the entire surface, ensuring a strong bond that minimizes the risk of delamination.
- Precision Shaping: Achieve intricate curves and shapes that are difficult or impossible to accomplish with traditional methods.
- Minimized Waste: Vacuum bagging allows for better material utilization, reducing scrapped wood and improving cost efficiency.
- Improved Aesthetics: The uniform pressure helps in achieving a flawless finish without bubbles or imperfections.
- Versatility: Vacuum bagging can be used with various materials beyond wood, including composites and plastics.
Essential Equipment for Vacuum Bag Wood Projects
To get started with vacuum bagging, you will need specific tools and materials. Here’s a list of essential equipment:
- Vacuum Pump: The heart of the vacuum bagging system, used to create the necessary vacuum pressure.
- Vacuum Bags: Durable bags designed to withstand atmospheric pressure and hold your materials securely.
- Sealant Tape: Used to seal the edges of the vacuum bags to prevent air leaks.
- Cauls: Flat boards that are placed on either side of the wood being laminated to ensure even pressure.
- Pressure Gauge: To monitor the vacuum level within the bag and ensure optimal conditions for bonding.
How to Use Vacuum Bag Wood Techniques: A Step-by-Step Guide
Now that you know the benefits and necessary tools for vacuum bag wood projects, let’s discuss how to effectively use this technique. Follow these steps for successful vacuum bagging:
Step 1: Preparation
Begin by selecting the wood and materials you will be using. Ensure that the surfaces to be bonded are clean, dry, and free of dust or oil. Choose the right type of adhesive depending on your project requirements.
Step 2: Assemble Your Materials
Lay the wood sheets you wish to laminate or veneer on a flat surface. Apply adhesive uniformly on the surfaces to be bonded, ensuring coverage without excess that could ooze out during pressing.
Step 3: Insert into the Vacuum Bag
Carefully place the laminated wood into the vacuum bag. Ensure that the adhesive does not come into contact with the bag itself, as this could damage the bag or compromise the sealing.
Step 4: Seal the Bag
Using sealant tape, securely seal the edges of the vacuum bag. Double-check for any leaks to ensure maximum vacuum is maintained. An airtight seal is crucial for effective bonding.
Step 5: Apply Vacuum
Connect the vacuum pump to the bag and turn it on. Allow the vacuum to run until you reach the desired pressure. Monitor the pressure gauge meticulously to ensure it stays within the optimal range.
Step 6: Curing Time
Follow the adhesive manufacturer’s instructions for curing time. Depending on the adhesive used, you may need to keep the vacuum applied for several hours to achieve a complete bond.
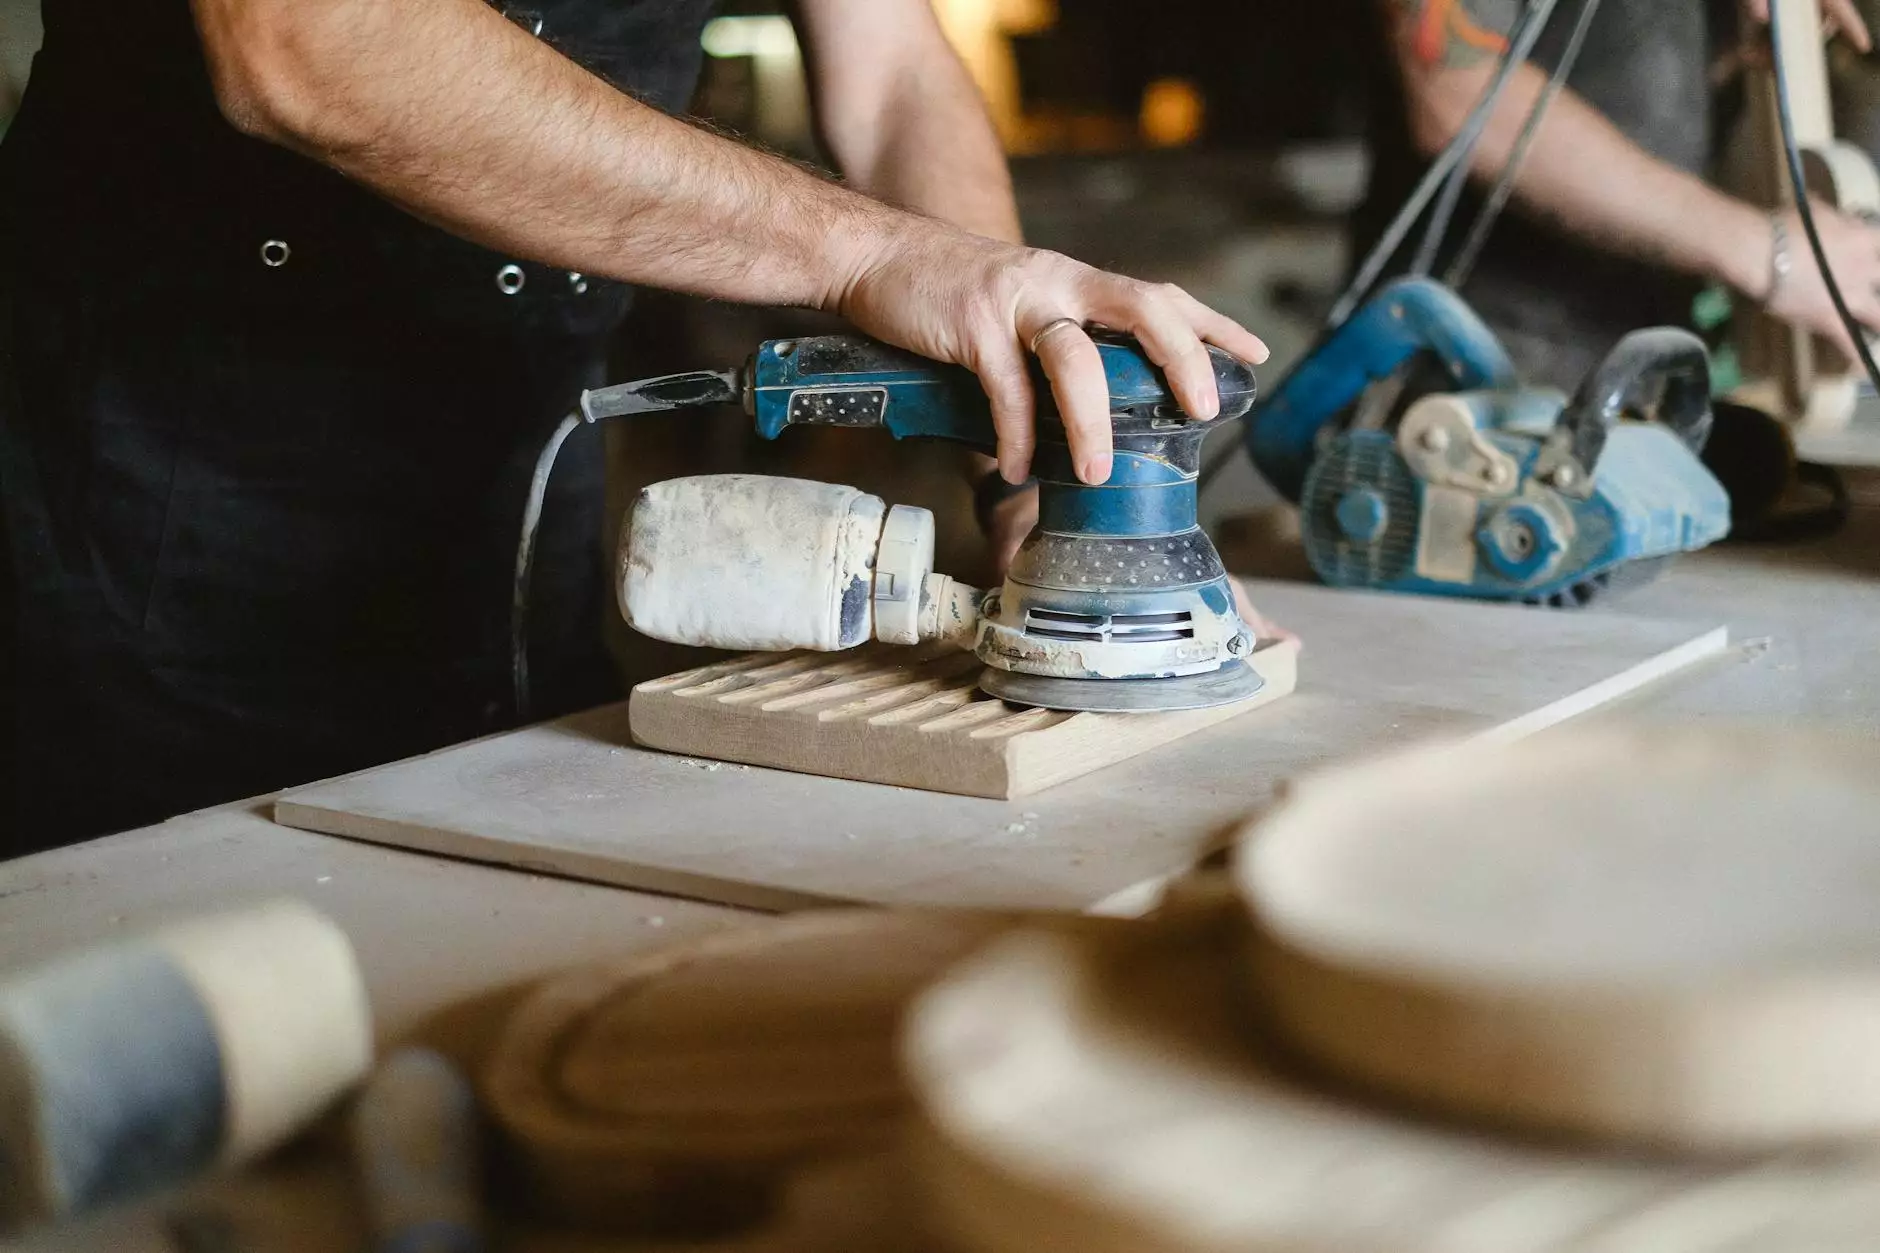
Step 7: Unbag and Finish
Once the curing time is complete, carefully remove the bag and inspect the bonded wood. Trim any excess or oozed adhesive and sand the surface to achieve the desired finish.
Common Applications of Vacuum Bag Wood Techniques
Vacuum bag wood techniques are widely applied in various woodworking projects. Here are some common applications:
1. Furniture Making
In furniture making, vacuum bagging allows for the creation of unique designs with curved components, enhancing both aesthetics and functionality.
2. Boat Building
Marine construction uses vacuum bagging for building lightweight, durable components. The method's ability to create strong bonds significantly benefits boat hulls and cabinetry.
3. Custom Guitars and Musical Instruments
Musical instrument makers utilize vacuum bagging for laminating and shaping wood, ensuring high-quality sound production by optimizing the wood's vibrational qualities.
4. Architectural Projects
Architects and designers often implement vacuum bag wood techniques for curved wood panels, allowing for innovative architectural designs and facades.
Best Practices for Vacuum Bag Wood Techniques
To ensure successful outcomes with vacuum bag wood techniques, consider these best practices:
- Use Quality Materials: Invest in high-quality adhesives, vacuum bags, and sealants to avoid failures.
- Maintain Equipment: Regularly check and maintain your vacuum pump and bags for longevity and performance.
- Practice Safety: Always wear safety gear and work in well-ventilated spaces, especially when using adhesives.
Conclusion
In the world of woodworking, vacuum bag wood techniques offer an array of advantages that enhance the quality and efficiency of projects. From furniture to musical instruments, this method provides woodworkers with the ability to create strong, aesthetically pleasing, and unique pieces. By understanding the equipment needed, how to effectively use vacuum bagging, and the best practices, you can elevate your woodworking skills significantly.
As you embark on your vacuum bagging journey, keep experimenting with different materials and projects. Each attempt will help you refine your technique and achieve even better results. Happy woodworking!